Chokoladbiskvier
Recipe for Chokoladbiskvier, or Swedish Chocolate Buttercream Macaroons. Alcohol optional. Ideal for making at any time of the year.
Swedish Chocolate Buttercream Macaroons
When we visited Sweden, we took a marvellous hike-with-outdoor-cooking with Anders, just outside of Halmstad. Part of the spread Anders brought included some mini baked treats, which were utterly delicious, and he told me they had been baked by his wife, Viktoria.
I was quizzing him with all sorts of questions about the baking and assume he must have decided that I needed to hear it from the horse’s mouth, and a few days after our hike, completely unexpectedly, they very kindly invited us for fika at their home in Halmstad.
The day was balmy. We sat outside under a tree, at a small table covered with a white tablecloth with the corners held down by clip-on cloth weights in the shape of a Dalarna Horse, and Viktoria served 6 types of bitesize fika, all baked by her own hands.
The classic Biskvi was my favourite of Viktoria’s treats, and she was further kind enough to share the recipe with me, which is what I have used to make these.
I’d say they are pretty close to what we had that day, though I would advise anyone to do a test run in your oven with a few of the bases at a time, to check your own oven’s bake time - these can easily overbake.
PORTION SIZE
Makes about 25-28 macaroons
TOOLS
Other than the typical kitchen equipment, to make these, you need:
a blender or food processor
an electric whisk
a baking sheet or a shallow roasting tin, 3-4cm deep
a cooling rack
INGREDIENTS
Base
275g skinless almonds or ground almonds
135g caster sugar
2 large egg whites (about 80g)
Buttercream
250g salted butter, softened (or half salted & half unsalted)
135g caster, vanilla or icing sugar
2 egg yolks
3 tbsp rum, cognac or brandy (about 60ml - optional)
Chocolate enrobing
150g semi-sweet dark chocolate (45-60% cocoa solids)
20g coconut oil
METHOD
Prep almonds - If you are using whole skinless almonds, finely grind them in a food processor first. Transfer the ground almonds with the sugar to a large bowl and whisk to fully combine.
Make dough for bases - In a separate bowl, whisk the egg whites until soft peaks form, and then mix in the dry ingredients. You should have a very thick paste, almost like marzipan.
Prep bases for baking - Line a baking sheet with reusable paper. Weight out 17-18g of the mixture, roll into a ball between palms and then flatten slightly into a disc, approx. 4cm in diameter. Space about 4cm apart on the baking sheet – they don’t spread at all during baking. Let them stand for about 30 minutes at room temperature.
**************** WAIT 30 MINS ****************
Prep oven - Heat the oven to 160°C fan, 180°C regular.
Bake - Bake in the centre of the oven for 12-15 minutes. They should be lightly tinged gold just at the edges when done (if bronzed all over, you have gone too far.) Remove from the oven and allow to cool on the baking sheet before loosening them and transferring to a wire rack.
Make buttercream filling - While they are cooling, whisk the butter and sugar into a fluffy batter. Add the egg yolks one at a time, then add the (optional) alcohol, and whisk to combine.
Top bases with buttercream - Work quickly here as the buttercream can start to get a bit melty. Spread the buttercream on the underside of the macaroon taking it right up to the edges. Shape with a knife or spatula into a soft round dome or peaked teepee – the peaked is traditional Swedish and what you tend to see in bakeries. Do your best, but don’t worry if you can’t make a perfect dome or teepee – smooth as best you can.
Chill - Lower the fridge temperature as much as you dare and refrigerate for about 1 hour, or in the freezer for 30 minutes so that they get really cold. You may leave them overnight at this point.
**************** WAIT 30 MINS TO OVERNIGHT ****************
Prep chocolate - Melt the chocolate and coconut oil in a bowl over a pan of simmering water on the hob, or in the microwave at full power for 1-2 minutes.
Enrobe with chocolate - Gripping the edge of the base, dip the buttercream side of the macaroons in the chocolate briefly, to coat up to the edge but leaving the base uncoated. Allow the chocolate harden, then briefly dip it again.
**************** WAIT 30 MINS TO OVERNIGHT ****************
STORAGE
Store the macaroons in a cool place, but preferably not in the fridge, as the chocolate surface can become dull.
The macaroons can also be frozen for up to 3 months. Defrost them slowly in the fridge
Swedish Kokosrulad (coconut roll cake)
Recipe for Swedish Kokosrulad, a coconut roll cake filled with a custard buttercream.
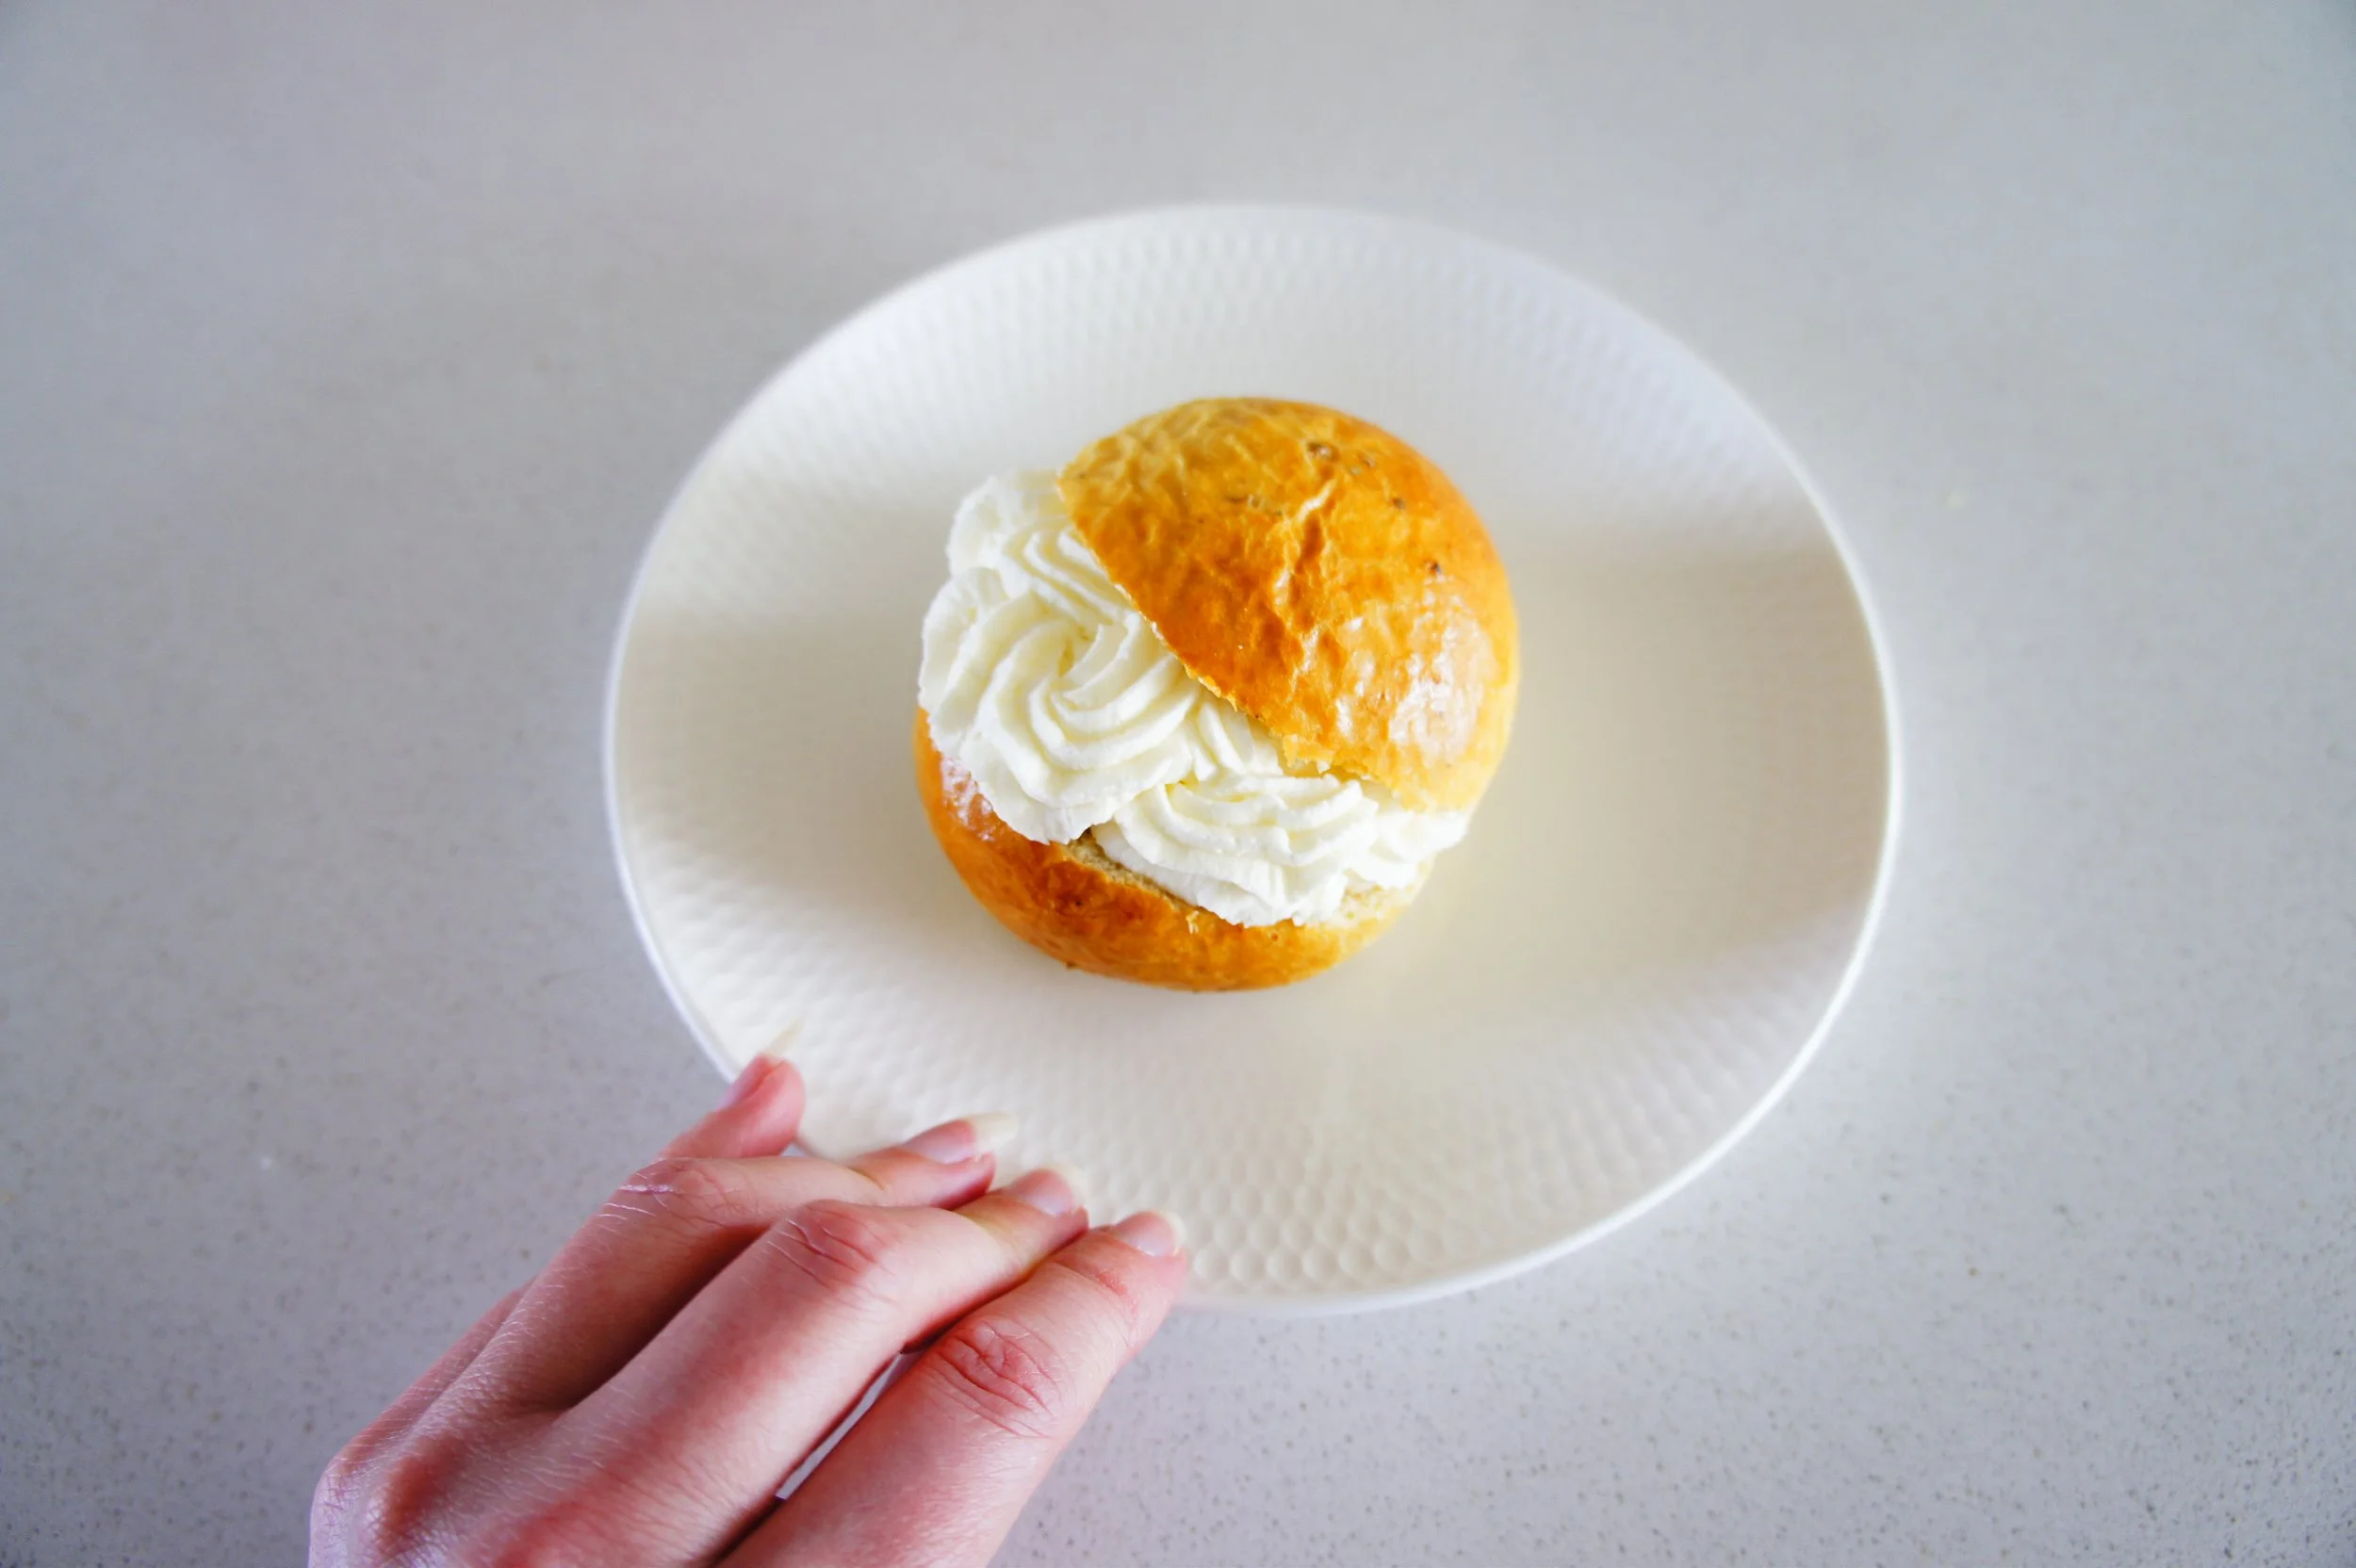
Not too sweet, soft texture, moist middle and very delicately flavoured.
Aside from the taste (one of my absolute favourites), I love that this cake keeps well in the fridge and I find it delightful served chilled. Due to this, it’s a great option to make ahead of time and conveniently store ready for later devouring, and is an absolute delight on a hot summer’s day.
The sponge relies on getting the eggs and sugar whisked up to ribbon stage, which takes a good 10 minutes on high speed - a stand mixer helps a lot here as you can get on with other tasks while it is labouring away. Otherwise, a handheld electric whisk will do the job equally well, but whatever you do, don’t get impatient and attempt to shorten this task. It really makes a difference to the lightness of the final sponge.
My recipe below is derived and modified from an original in the excellent guide to Swedish baking, Fika - The Swedish Way, published by Norstedts.
PORTION SIZE
Makes 12-14 moderate slicesTOOLS
a blender or food processor
a stand mixer or handheld electric whisk
a 30cmx40cm shallow roasting tin with sides, 3-4cm deep
INGREDIENTS
Cake
120g desiccated coconut
60g (3 tbsp) potato starch or potato flour
1 ½ tsp baking powder
3 large eggs (about 160g out of shells)
180g caster sugar
Caster sugar, for sprinkling
Custard buttercream
75g unsalted softened butter
100g caster sugar
150g ready-made custard or homemade crème pâtissière, at room temperature
OPTIONAL For the crème pâtissière
25g plain flour
25g cornflour
300ml whole milk
1 ½ tsp vanilla paste or seeds from 1 vanilla pod
2 large eggs
50g caster sugar
METHOD
OPTIONAL – For crème pâtissière
Make a paste - Weigh the two flours into a small bowl and weigh in about 50ml of the cold milk, working it all into a paste with the back of a spoon or a small whisk. Make sure there are no lumps; set aside.
Warm the milk - Weigh the rest of the milk and the vanilla into a small saucepan and place over a low-medium heat until scalded.
Mix eggs and sugar to ribbon stage - Weigh the eggs and sugar into a medium bowl (having the ingredients form some depth in a smaller bowl helps with the whisking) and use an electric whisk on high to mix until pale and fluffy – expect about 4-5 minutes to reach the volume. You are aiming for the ribbon stage, which it is very pale and fluffy, about 5 times the original volume, and the mixture leaves a trail (a ribbon) when the whisk is lifted.
Heat to thicken - Add the flour-milk paste and whisk to combine. Pour over the hot milk and whisk again. Pour everything back into the pan and cook over a low-medium heat until thickened.
I alternate between letting it sit on the heat to thicken, and stirring, switching between a balloon whisk and a spatula to work out the foamy bubbles on the top and the thicker sections as they form on the bottom. I find this whole process can take 10-15 minutes – don’t be tempted to crank the heat up.
You can choose how much to thicken it, but it is ready once it easily coats the back of a spoon and leaves an open trail if you run a finger across it. You can take it thicker if you wish, until it is decidedly thick like the consistency of extra thick double cream, which I think is better for this recipe.
Chill - Pour into a glass bowl and cover with the clingfilm touching the top. Chill fully.
For the roulade
Prep oven and baking sheet - Preheat the oven to 200°C fan, 220°C regular. Line the bottom of the roasting tin with reusable or greaseproof paper.
Mix eggs and sugar to ribbon stage - Weigh the eggs and sugar into a large bowl or the stand mixer. Whisk for at least 10 minutes on high speed – it really does take this long to get the right volume. You are aiming for the ribbon stage, which it is very pale and fluffy and about 5 times the original volume.
If you are using a stand mixer, you are free to continue with other tasks.
Combine & fold in dry ingredients - Weigh the desiccated coconut, potato starch and baking powder into a bowl and use a balloon whisk to combine these dry ingredients together evenly. Fold the dry ingredients into the egg-sugar mixture in a few goes. The mixture should be very light and fluffy, almost like a meringue.
Pour batter into baking tin - Pour the cake mixture into the tin, level the top and use a cranked spatula to encourage it into a rectangle but do not push it all the way to the edge of the paper – it will continue to spread a little during baking and you don’t want it too thin as it is delicate once baked and can easily tear. Tap once to release air bubbles.
Bake - Bake in the middle of the oven for 5-7 minutes. It is done when golden on the top, probably with some huge bubbles, and springy to touch. Bring out the oven and complete all the next steps immediately, with the cake still warm.
Sprinkle with sugar and remove from tin - First, use a spatula to loosen the edges and make sure you can lift the reusable paper all the way round the edge. Next sprinkle the top with caster sugar, then lay a sheet of greaseproof paper and then a sturdy clean tea towel over the top of the tin. For extra precaution, put two elastic bands around all this at each short end. In one quick and decisive motion, flip over so that the sugared sponge top drops onto the greaseproof. Hold the edges tightly – you don’t want this to slide out of the side.
Roll up and cool - Carefully peel off the reusable paper that was on the bottom, then roll up loosely with the greaseproof paper inside. Leave to cool on a wire rack.
*************** WAIT 1 HOUR **************
Finish the custard buttercream - Beat the sugar and caster sugar together until fluffy, then add the custard/crème pat in two or three sessions and beat to combine.
Fill and roll up - Once everything is cooled, gently unfurl the rolled cake and spread the buttercream right to the edges, then roll up fairly tightly, aiming for no gaps.
Chill - chill for at least 30 minutes before serving
*************** WAIT 30 MINUTES **************
SERVE!
Cut into slices 2-3cm wide.
STORAGE
Store in an air-tight container in the fridge; stored well for about 3-4 days.
I also really like this chilled, and served cold from the fridge.
An excellent candidate for freezing and fika, simply slice up and store in airtight bags in the freezer for up to 3 months. A slice only needs about 15 minutes to defrost.
Swedish Semlor buns
Recipe for Lenten-Easter treat, Swedish Semlor buns. Adapted from a recipe by Estonian patisserie owner, Angeelika Kang.
This is perhaps my very favourite enriched doughs to make and to eat.
I first encountered a semla bun in Angeelika Kang’s wonderful baking book, ‘Ovenly Delights’, a book I bought for myself on a winter break in Tallinn, after visiting Angeelika’s delightful Levier patisserie in Kalamaja. Since coming home, her book is a staple in my recipe book library for excellent instruction on how to make the kind of treats you only find in patisseries.
Since discovering this recipe and first making them at home, we have taken two trips to Sweden - Sweden’s West Coast and a Stockholm workation - but never having been there in the Lenten or Easter period (which is when these tend to feature in Swedish bakeries), we have never had the chance to try these in their native land.
Oh well - just going to have to keep making them at home.
My recipe below is derived and modified from Angeelika’s original.
BATCH & BUN SIZE
My estimates are based on a 60-80g size bun per person. This recipe will make about 12 buns, give or take.
TOOLS
Other than the typical kitchen equipment, to make these, you need:
a pestle & mortar for grinding cardamom
a large glass mixing bowl for proving, one that cling film will ‘grip’ onto for a tight drum seal
a flat baking sheet for baking
INGREDIENTS
Dough
250ml full fat milk
24g active dry yeast (not fresh or instant)
100g caster sugar
½ tsp (2g) fine salt
500g strong white bread flour
100g softened unsalted butter
2 egg yolks (30-40g)
30 cardamom pods
Crème Chantilly Filling
600ml whipping cream
4 tbsp icing sugar
For brushing
Egg white + a dash of full fat milk
METHOD
Put the oven on. 50°C (fan or regular).
Remove the cardamom seeds from the pods. Lightly grind in a pestle and mortar. Don’t overdo it – you want to taste and bite into the cardamom seeds in the finished bun.
Warm the milk. Weigh milk into a small saucepan with a temperature probe – heat over medium to 37°C (will take about 4-5 mins). Do not let it exceed 43°C - this will kill the yeast.
Weigh out the remaining ingredients. While the milk is heating, weigh the flour, salt, sugar, yeast, egg yolk, butter and ground cardamom into a large mixing bowl. NOTE! If using dry yeast, weigh this into a separate bowl and hydrate with the warm milk before the next step.
Knead. Once the milk has reached 37°C, pour the warm milk into the stand mixer bowl. Turn the dough out onto the surface and knead for about 5 minutes until the dough is elastic and smooth – a dough scraper can be very helpful at the start of the process when it is quite sticky. You are aiming for a ball of soft pillowy dough that is just lightly tacky.
It may be a little sticky when you start but resist the temptation to add more flour to it. You'll find that with a little work, the dough will begin to lose its stickiness and become smoother and more elastic.
First Proof. Turn the dough out, ball off the dough and place into a large glass mixing bowl. Cover with cling film that is stretched drum-tight across the top. Place in the oven to prove for 45 mins to 1 hour, by which time it should have doubled in size and the cling film will have inflated to a dome. A light press on the dough and it will readily spring back.
******************** WAIT 45 MIN to 1 HOUR **********************
Divide the dough. Once proved, roll the dough into a rough sausage shape and use a sharp knife to cut as equal as you can before weighing each section - you want either 60g (small) or 80g (medium) per ball.
Shape the dough and space out. You are aiming for a domed ball shape with the seam of the dough on the underside. Using one finger, press the sides into the middle. Repeat this several times; you will probably notice the dough getting firmer as you do this. Flip over and using the two edges of your hands, cup under the dough to form a nicely rounded and smooth ball. Plqce onto a lined baking sheet, well-spaced apart, and repeat for the remaining buns.
Second Proof and heat oven. Leave to rise for another 15 minutes. Preheat the oven to 170°C fan, 190°C regular.
Alternatively, if you are prepping in advance, place the buns either in the fridge or the freezer at this point, for baking later. See further notes on storage below.
Egg wash. Wash the tops of each bun – either with a beaten whole egg, or - to avoid waste - some egg white beaten with a dash of cream or milk, whatever you have. Apply wash carefully and precisely, try not to miss any bits for the most professional glossy finish.
Bake. Bake in the middle of the oven:
10-11 minutes for a small bun
12-15 minutes for a medium bun – no more - until the tops are golden brown
Cool completely. Remove from the oven and cool completely before serving (otherwise, the cream will get melty)
******************** WAIT 45 MIN to 1 HOUR **********************
Fill with cream. Whip the cream with the icing sugar, slice off the top of the bun and, for the most professional finish, use a star nozzle to pipe in the cream before replacing the lid and lightly dusting with icing sugar.
STORAGE & FREEZING
Most enriched dough is best eaten on the day it is baked – though you can get away with up to about 48 hours if you keep it in an airtight container but by this time, it won’t be as special and will likely be a bit dry and a bit tough
To freeze before baking (freshest result)
Put into the freezer in an airtight container, just before the second proof.
When you want to bake them, take them out of the freezer and immediately place onto the lined baking sheet that you plan to bake them on. Leave in a warm place to thaw and rise - the time for this will vary depending on the temperature of the room though I typically find about 2-3 hours for these. You will need to check the dough regularly; it needs to be baked as soon as it has completed its defrosting (it should feel slightly puffy and your finger should leave an indentation if the dough is pressed lightly.) Now continue the recipe from the baking step.
To freeze after baking (most convenient)
Freeze on the day of baking immediately after they have cooled.
To serve, warm in the oven for 15 minutes at 160°C fan (no need to preheat – put straight in on a tray). After this time they should be fully defrosted, warm and slightly softened – almost as good as freshly baked.

